My stool and progress…
Welcome! / Forums / Project Series / Bench Stool / My stool and progress…
- This topic has 5 replies, 4 voices, and was last updated 6 years ago by
ehisey.
-
AuthorPosts
-
I’ve been working on my stool for a couple of weeks now, when I’ve been able to devote some time to it. I had an issue on my first go round where my joint lines were just crap/gappy and the thing looked like a 7th grade shop project. Well, I figured out why that was and went back and re-cut my cross beams. The reasons were 2-fold (maybe 3).
1) I dropped my sliding bevel midway through my project, slightly changing the angle I had locked in. Gah.
2) No offense to Paul but I realized that to get perfect joint lines, it is critical to use the sketch/mock up for a reference for the shoulders. When he did the tenons on his top rails, he cut the rails and measured in 1.25″ from the ends to find the shoulders (as opposed to using the sketch which is drawn to scale with accurate angles/distances to mark the shoulders. This is fine if one works as accurately as the master but not if you’re me and 1/32″ can cause plenty of collateral joint inaccuracies as the project goes on. So, fortunately I had leftover wood and I re-cut my top rails measured to my drawing and made sure to get my shoulder lines for the lower beams also from my drawing. After re-cutting all of my pieces, I had a MUCH better fit.
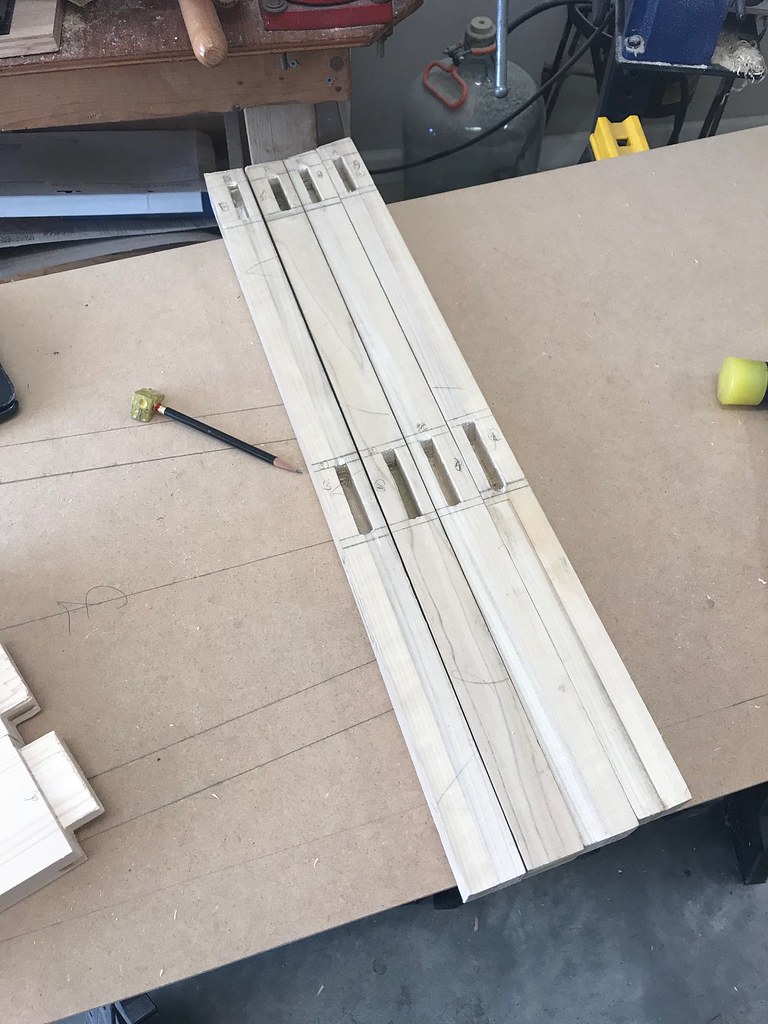
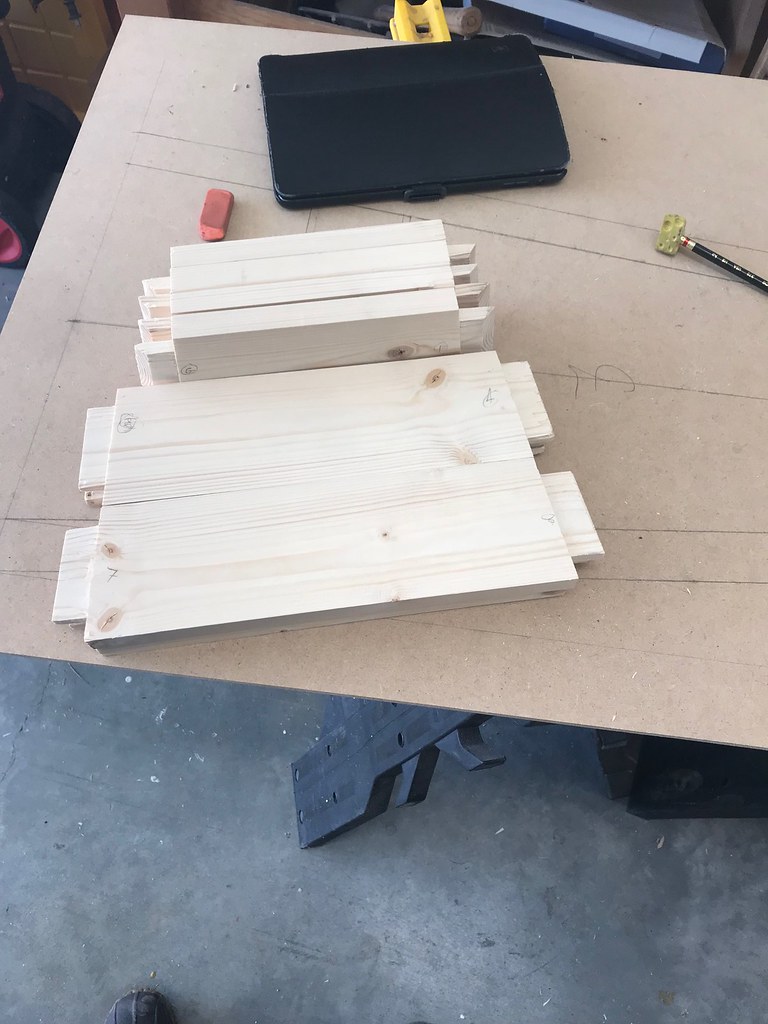
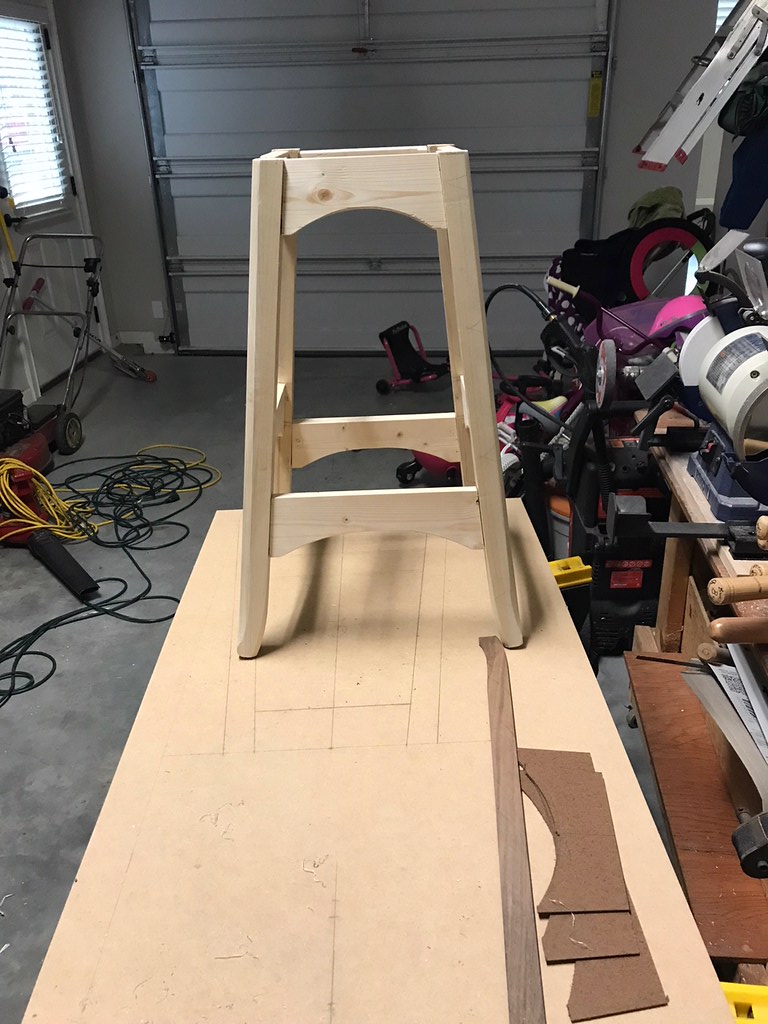
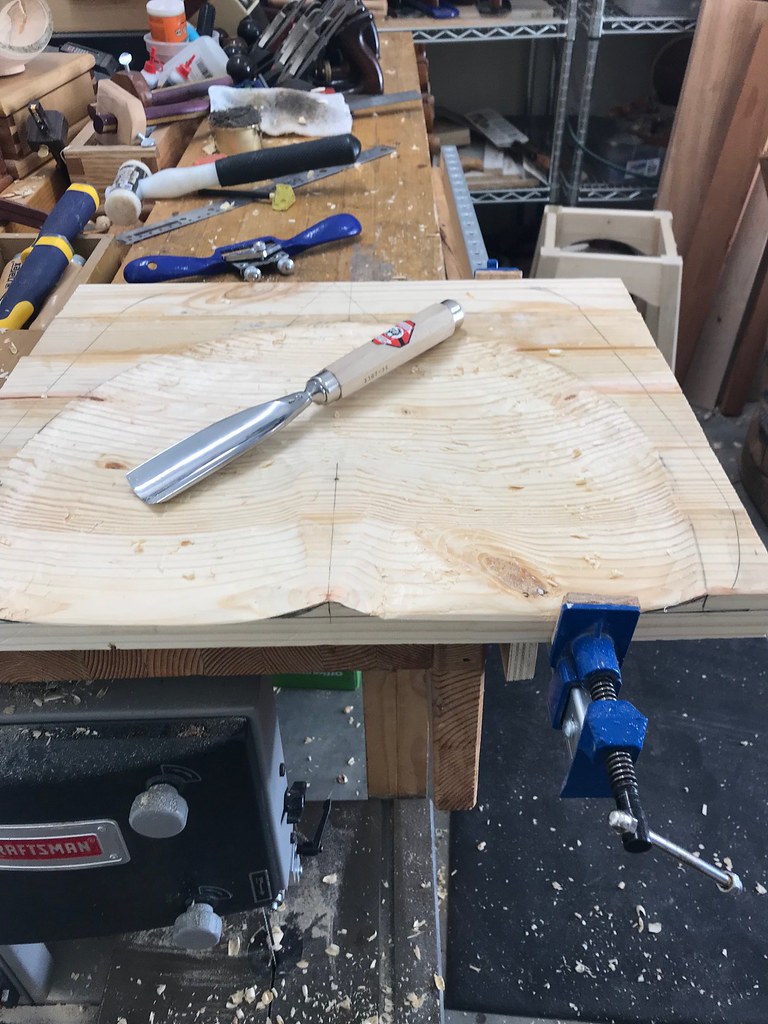
3) Not a huge deal, but my cross beams were also 3.5″ wide boards as opposed to the 3″ that Paul designed the bench around. This may have created a bit of “overlap” on the datum line but as I was cognizant of this and cut my tenons in the right location, I don’t believe this caused any joint issues.In the pics below you can see my mortises–frankly I need more mortise practice as they look a bit sloppy on the ends. I think I rationalized a bit by reminding myself that the shoulders will cover up the edges so they mortise holes will never be seen. That said, the joints are snug and everything fits together nicely. The second pic is of the cross-beams. This weekend/today I was able to do the decorative features, chopping the curves and shaping the legs. The last pic shows the stool put together, pre-glue up so unclamped. Hopefully any lingering gaps will close up with the clamps. All that’s left now is to make the seat and to glue-up.
http://farm1.staticflickr.com/808/40015237125_19c9039014_b.jpg
https://farm1.staticflickr.com/785/40015237245_1057cbdc6b_b.jpg
https://farm5.staticflickr.com/4782/40015237045_2077ea6de4_b.jpg

https://farm5.staticflickr.com/4771/40015236875_2812a5f674_b.jpg
-
This topic was modified 6 years, 1 month ago by
 David B.
-
This topic was modified 6 years, 1 month ago by David B.

This is a helluva workout! But it really is comfortable as I test it. I wish I had the little rounded plane, it would help immensely to smooth out the contours but I may just have it look more rustic.
-
This reply was modified 6 years, 1 month ago by David B.
-
This reply was modified 6 years, 1 month ago by David B.

looking great so far david, yes it really is a hell of a workout.
I made one of my first stools out of rock hard american white oak and without a proper workbench, probably not a good idea, it racked like crazy and almost collapsed several times, but I got there in the end.
best of luck! keep going, Ben.
Finally–a nice, comfortable place to sit! Now I don’t dread things like sharpening saws–hunched over on my feed doing tedious work. Carving the seat was a pain (and I had to take a few days off to build a curved, wooden plane to help with it–fun project that taught me even more), but in the end it is a really comfortable bench and I’m thrilled to finally have one. My daughter wants to paint it. Not sure how it will be finished yet. fwiw, the legs were made from 1.5″ poplar strips that I laminated together. The rest is just “cheap” pine from Home Depot. This was a fun project that I think I could do much quicker/better on my 2nd try (though I don’t want to call this a prototype even though it was the first one I made).
[attachment file=524544]
[attachment file=524546]
-
This reply was modified 6 years ago by David B.
-
This reply was modified 6 years ago by David B.
-
This reply was modified 6 years ago by David B.
Attachments:
You must be logged in to view attached files. -
This topic was modified 6 years, 1 month ago by
-
AuthorPosts
- You must be logged in to reply to this topic.