Sellers Home Wardrobe: Episode 6
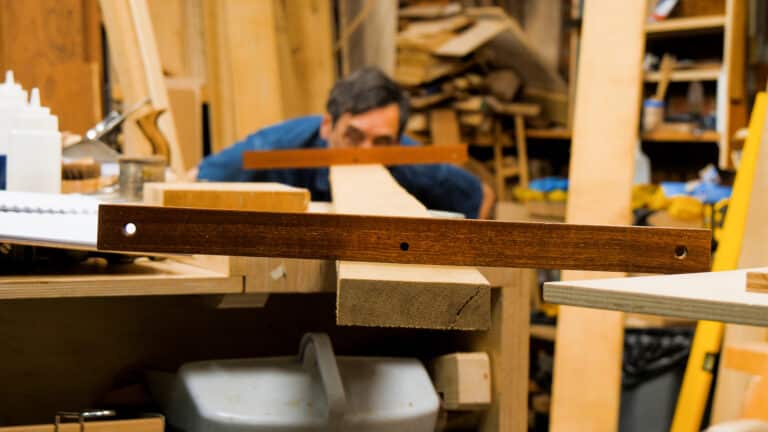
To prepare the wardrobe for assembly, Paul uses appliqued stops rather than rebating the solid wood because of the added wood Paul needed to seat the screws.
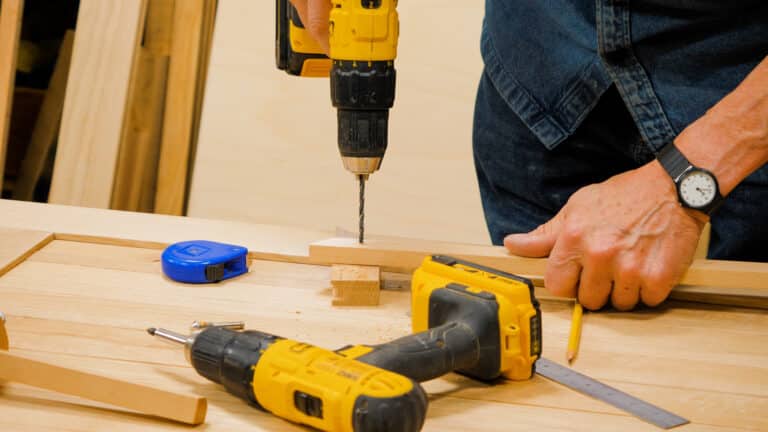
To prepare the wardrobe for assembly, Paul uses appliqued stops rather than rebating the solid wood because of the added wood Paul needed to seat the screws.
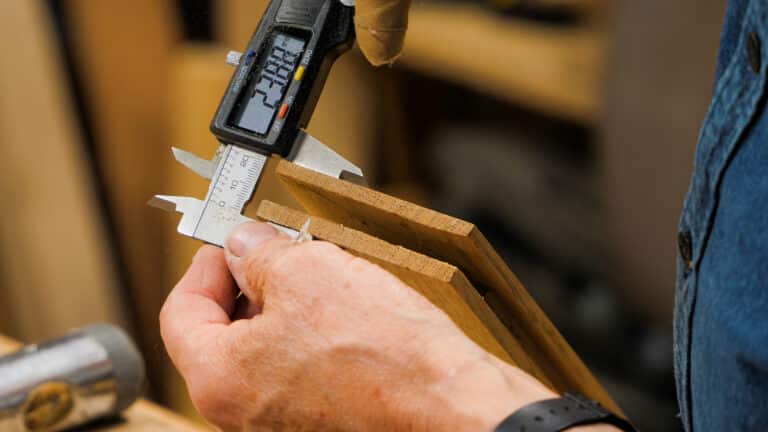
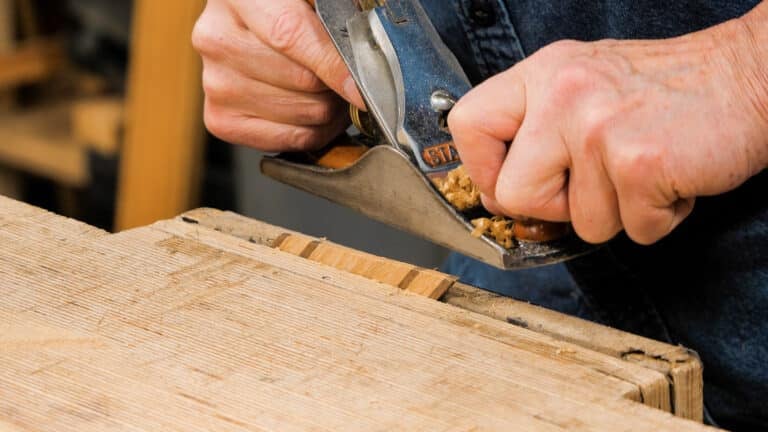
With the side panel frames concluded, we prepare for the addition of plywood panels that give the benefit of rigidity in the final assembly. The oak lippings are grooved and fitted to add a complete look, ready for assembling the main carcass of the wardrobe.
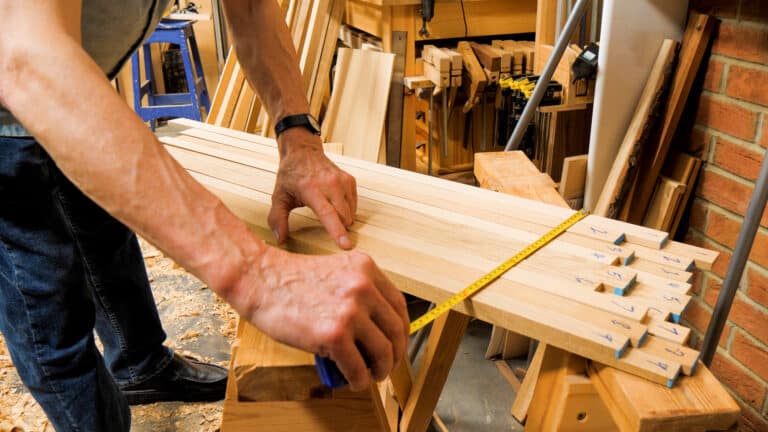
Building the frames for the wardrobe sides is the first half of the making, and in this episode, we walk through how we get the random slats to look uniform and distinctive.
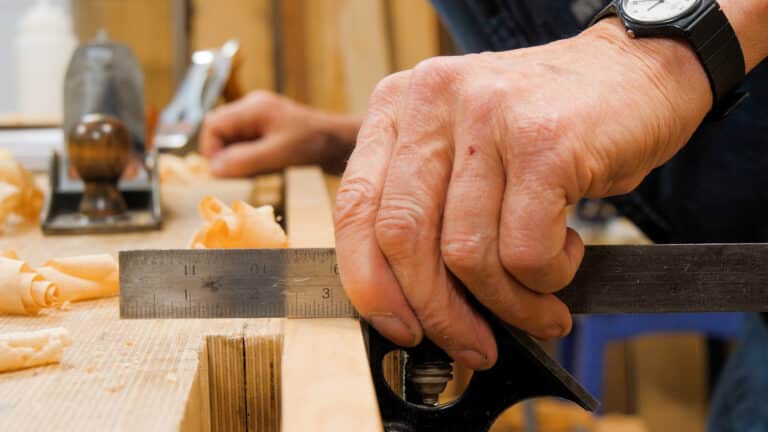
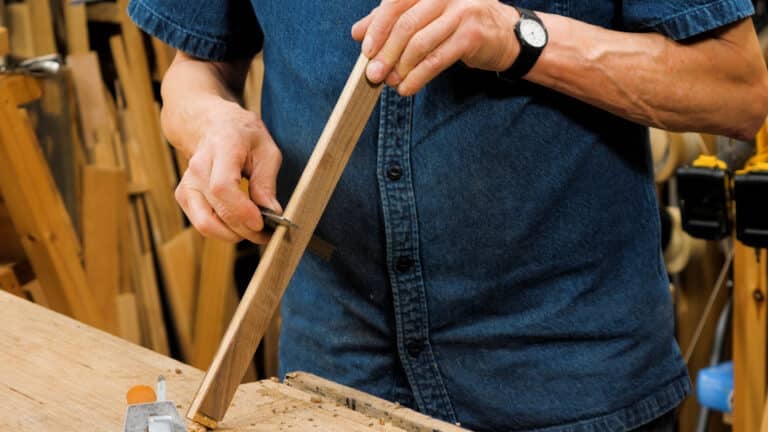
In this episode, Paul walks you through what is a more unusual mortise and tenon joint for hand tool woodworkers. Using a step-by-step approach ensures that each joint is successful using only hand tools.

Selecting wood is never just picking out the sticks and stems, but more about choosing the parts for grain, wood colour, configuration, and even the way the light catches the wood.
This episode walks you through preparing the wood for the mortise and tenon framed joinery. Paul employs an unusual step-by-step process for developing the corner joints.
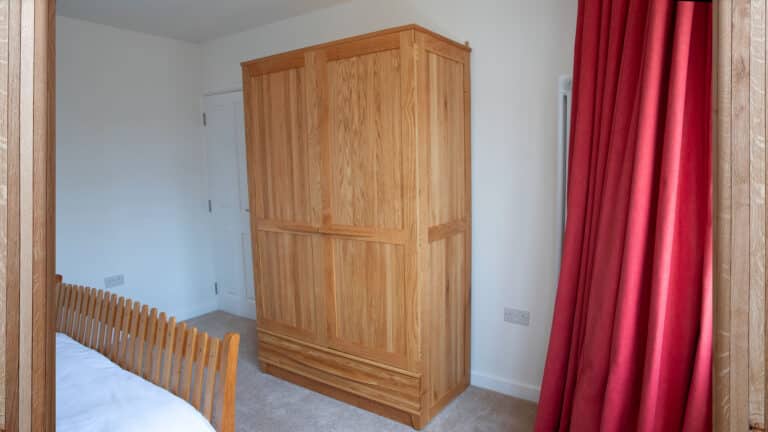
Coming soon to Woodworking Masterclasses: Paul’s new wardrobe project!
Applying the facing to the mirror, fitting the mitres, and finishing it out is very much ‘the icing on the cake’ for this project.
Appliquéd facings can transform the ordinary into extraordinary work, and that is what happens in this episode as we take strips of wood to create facings to decorate our mirror frame
Using the sub-wood for the main frame enables us to use just about any wood, including lesser quality or secondhand wood scraps. Whereas we could simply use solid wood throughout, the laminating adds greater interest to the work itself.